Setting up Python with Jupyter Notebooks in VS Code on a Windows machine is a straightforward process that will expand your data science capabilities. Here’s a quick guide to get you started.
Step 1: Install Python
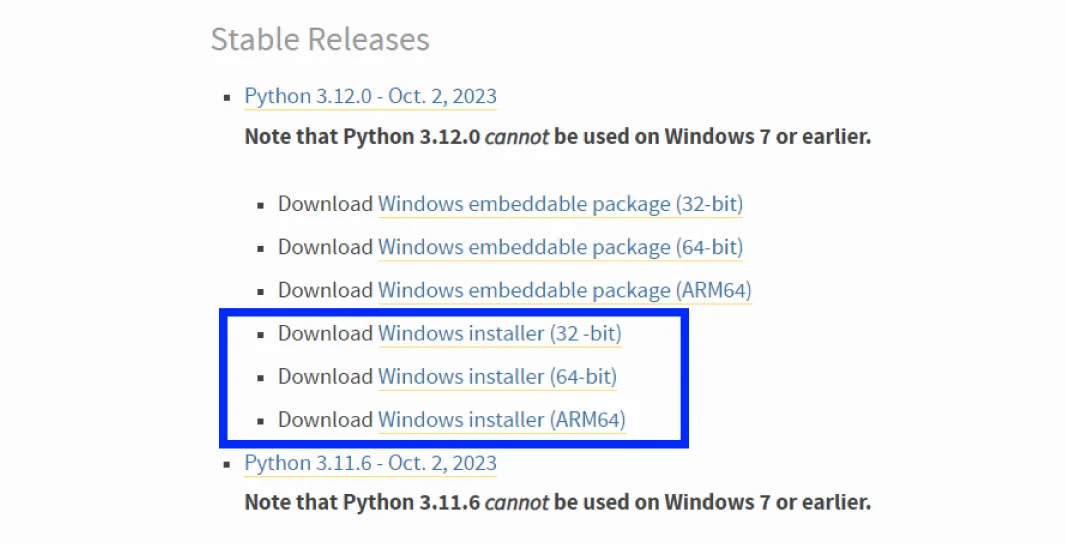
Begin by downloading the latest version of Python from the official Python website .
During installation, ensure you select the checkbox that says “Add Python to PATH” to make Python accessible from the command line.
Verify that Python is installed by opening a new terminal window and typing python --version. You should see the version number of the Python installation you just installed.
# Verify Python installation
python --version # Python 3.12.0
Step 2: Install Visual Studio Code
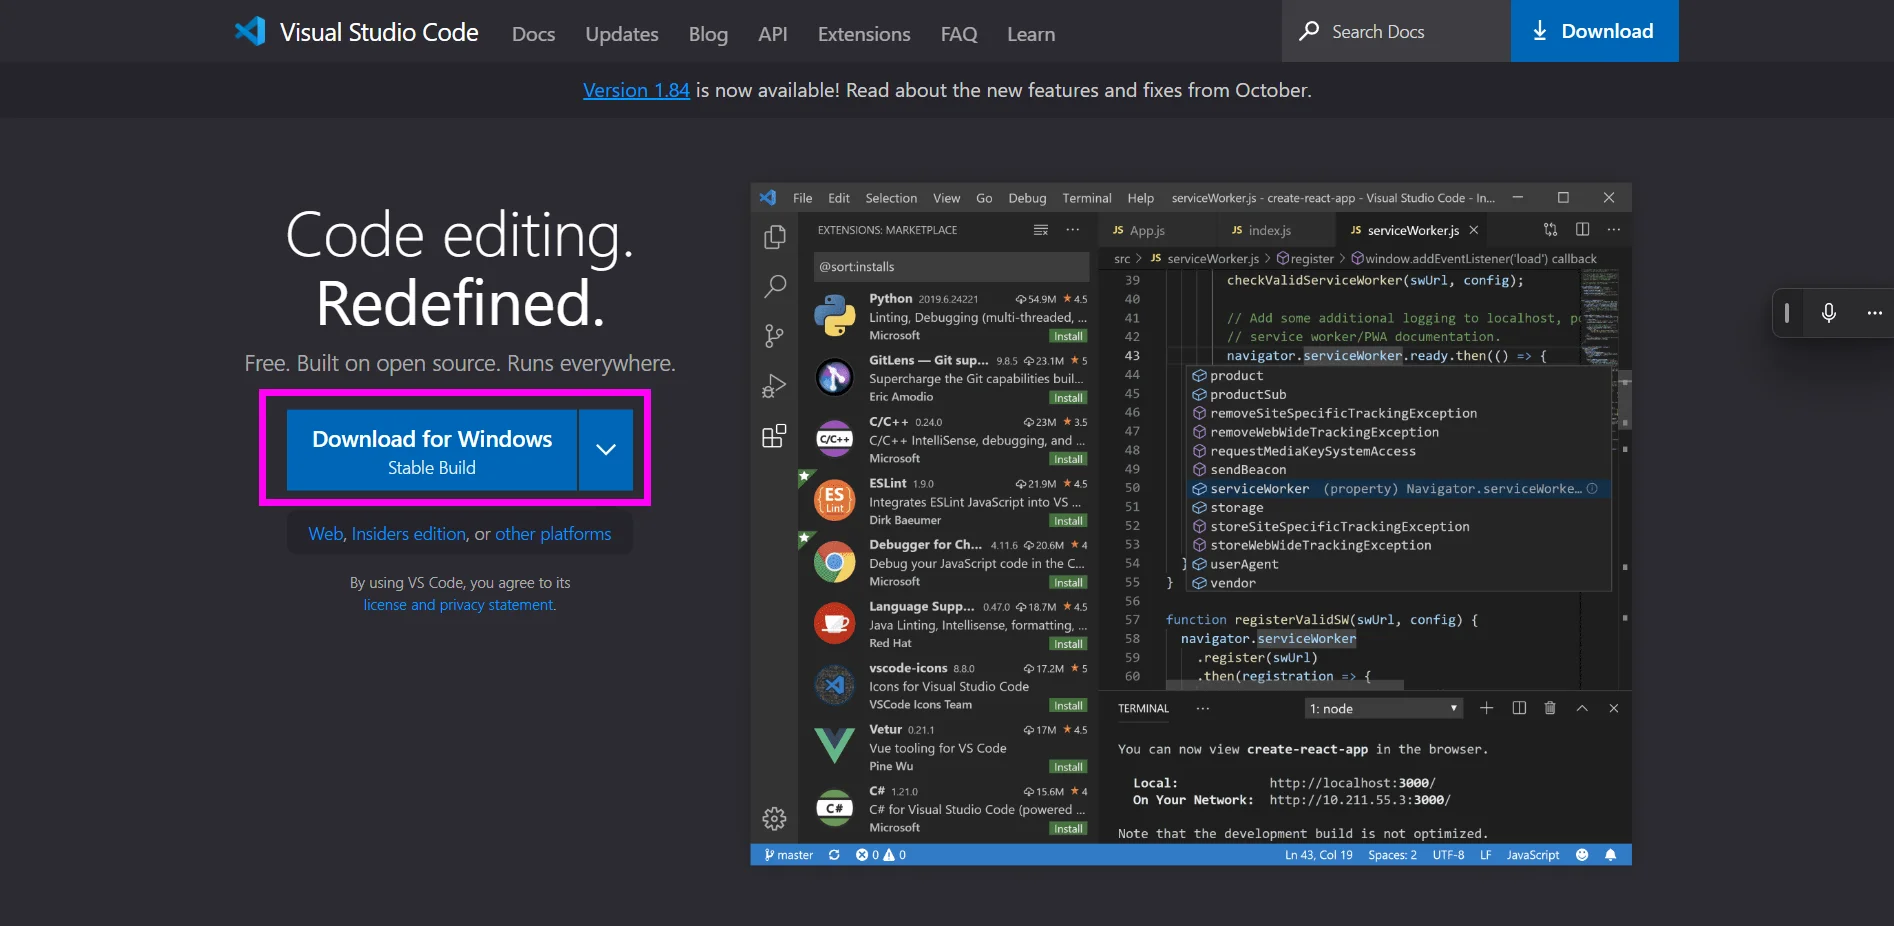
Download and install VS Code from the official website . Launch the application once installed.
Step 3: Install the Python Extension for VS Code
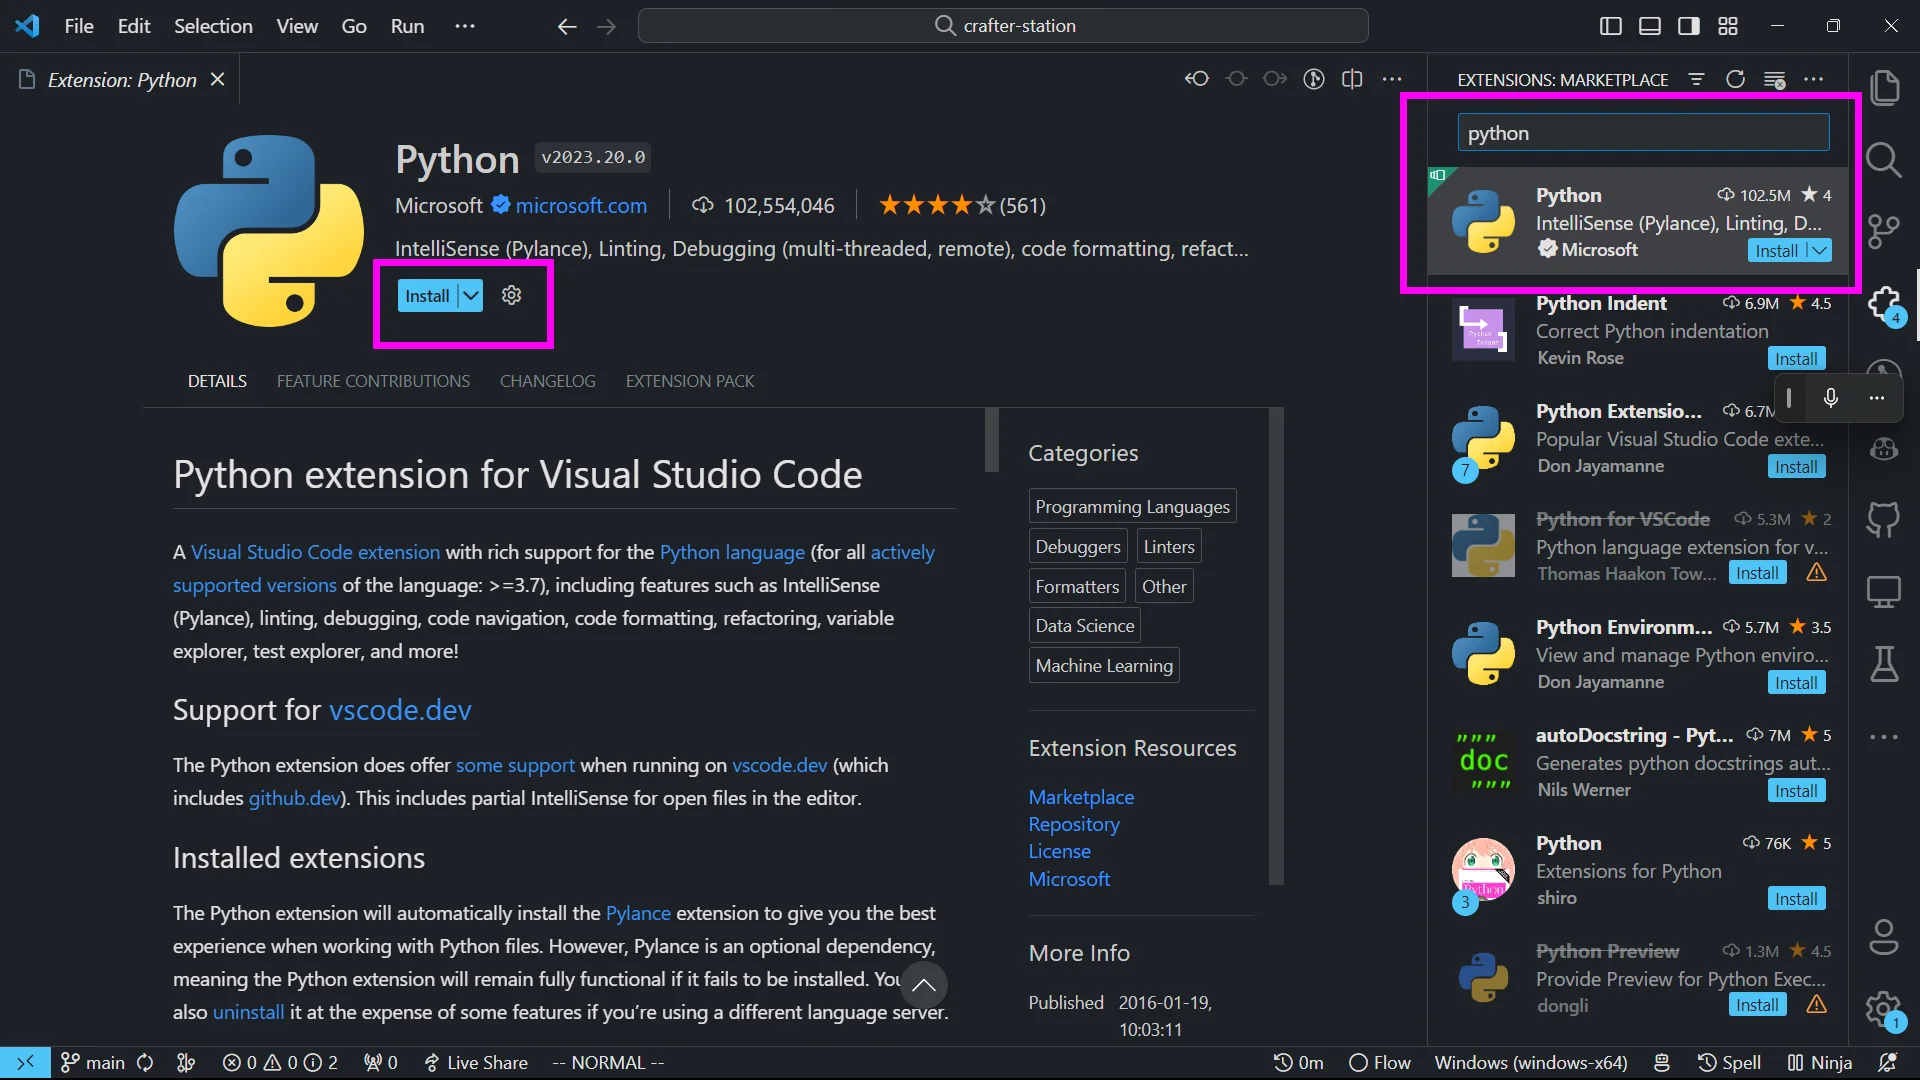
In VS Code, navigate to the Extensions view by clicking on the Extensions icon on the sidebar, or pressing Ctrl+Shift+X. Search for ‘Python’ and install the extension provided by Microsoft.
Step 4: Install Jupyter
Open the integrated terminal in VS Code with Ctrl+ and install the following libraries using pip:
# Install Jupyter and other libraries
pip install jupyter opencv-python matplotlib numpy
Step 5: Create a Notebook
Once Jupyter is installed, you can create a new notebook by clicking on the ‘New File’ icon and selecting ‘Jupyter Notebook’.
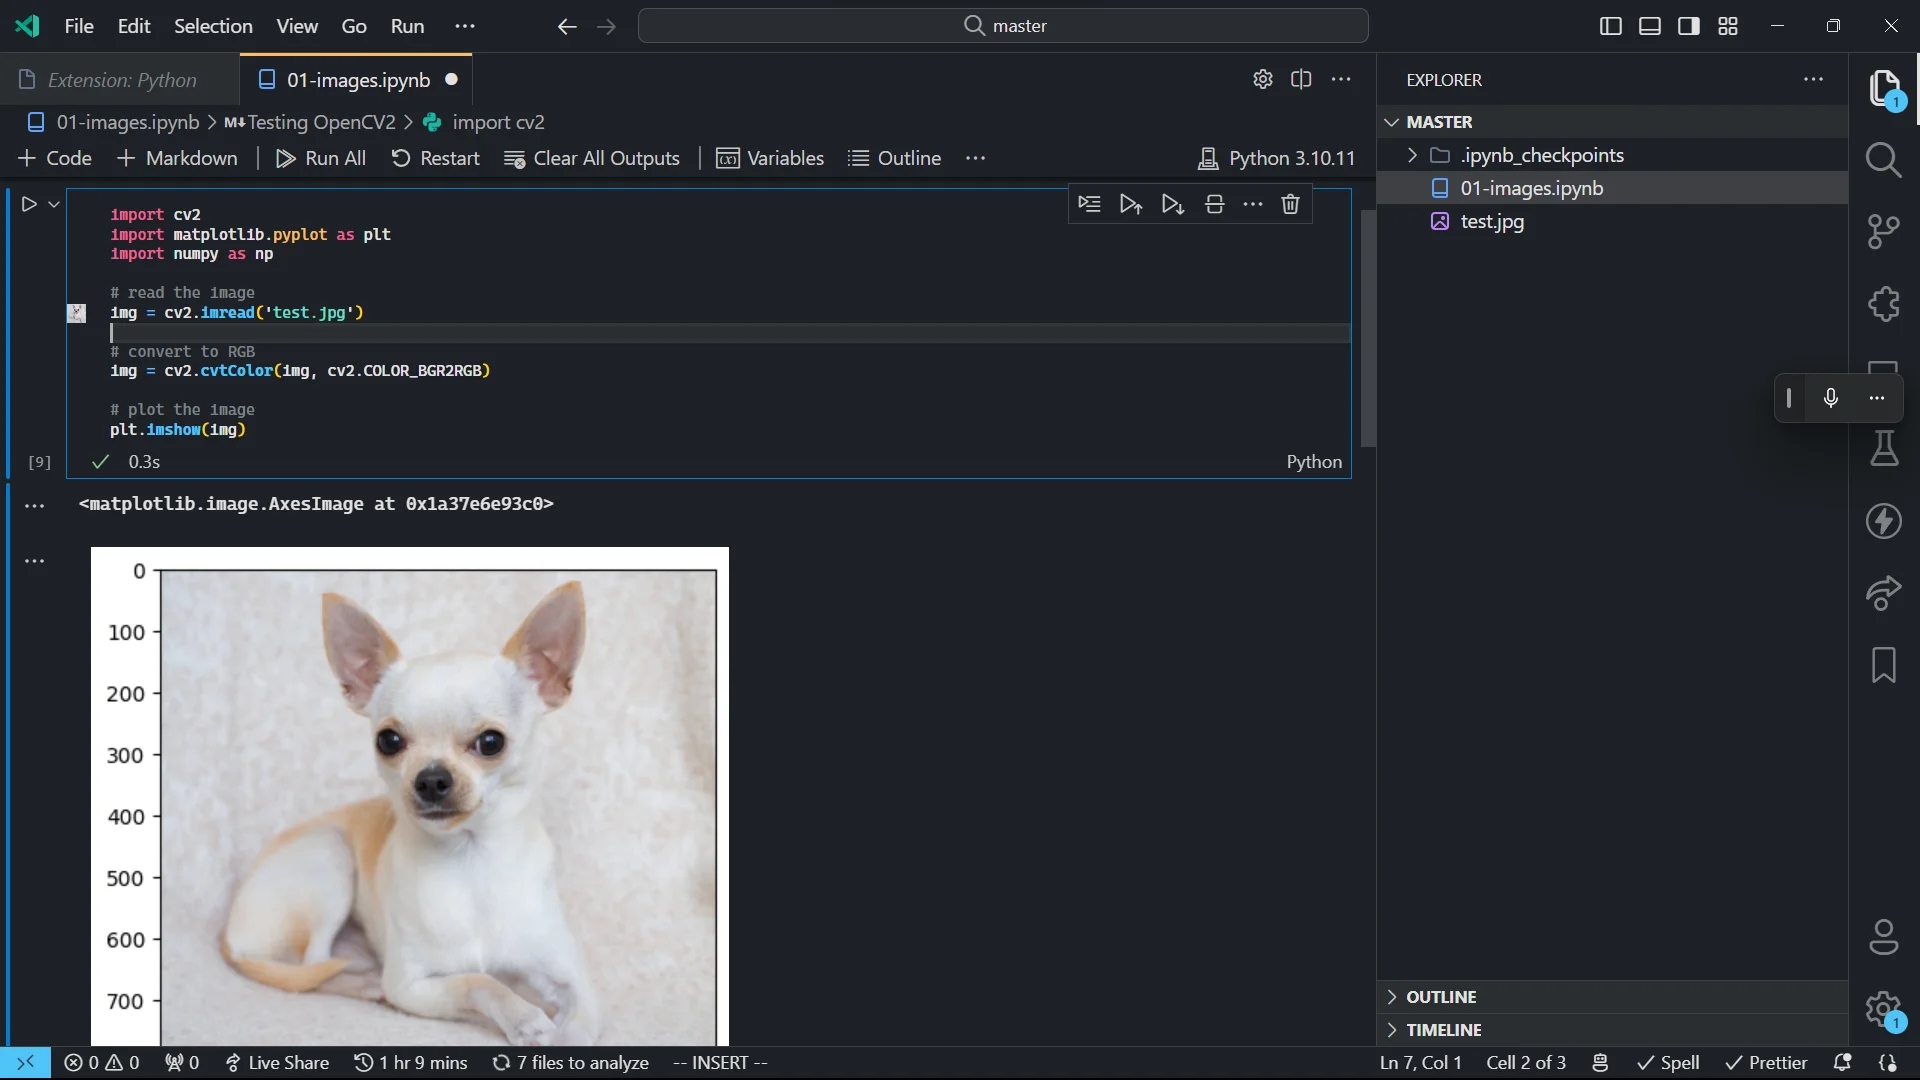
Or simply create a new file with the .ipynb extension with the following content:
Note:
Make sure you have the test.jpg file in the same directory as the notebook.
import cv2
import matplotlib.pyplot as plt
import numpy as np

# read the image
img = cv2.imread('test.jpg')
# convert to RGB
img = cv2.cvtColor(img, cv2.COLOR_BGR2RGB)
# plot the image
plt.imshow(img)
Step 6: Install and Select a Python Interpreter
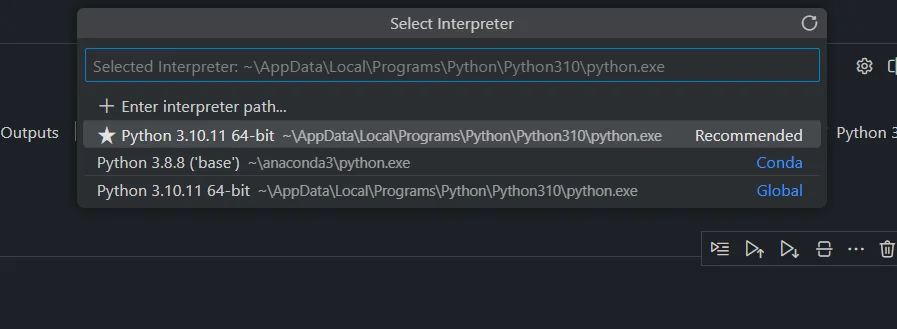
VS Code should prompt you to select a Python interpreter when you open a notebook. If not, you can select one by clicking on the Python version in the status bar at the bottom or using the command palette (Ctrl+Shift+P) and searching for “Python: Select Interpreter.”
Step 7: Run Your First Cell
Type some Python code into a cell, and then use Shift+Enter to execute the code and see the output below the cell.
Step 8: Optional - Run Jupyter Notebooks Locally
Ne installed Jupyter in Step 4, so you can run the following command to start the notebook server:
# Start the notebook server
jupyter notebook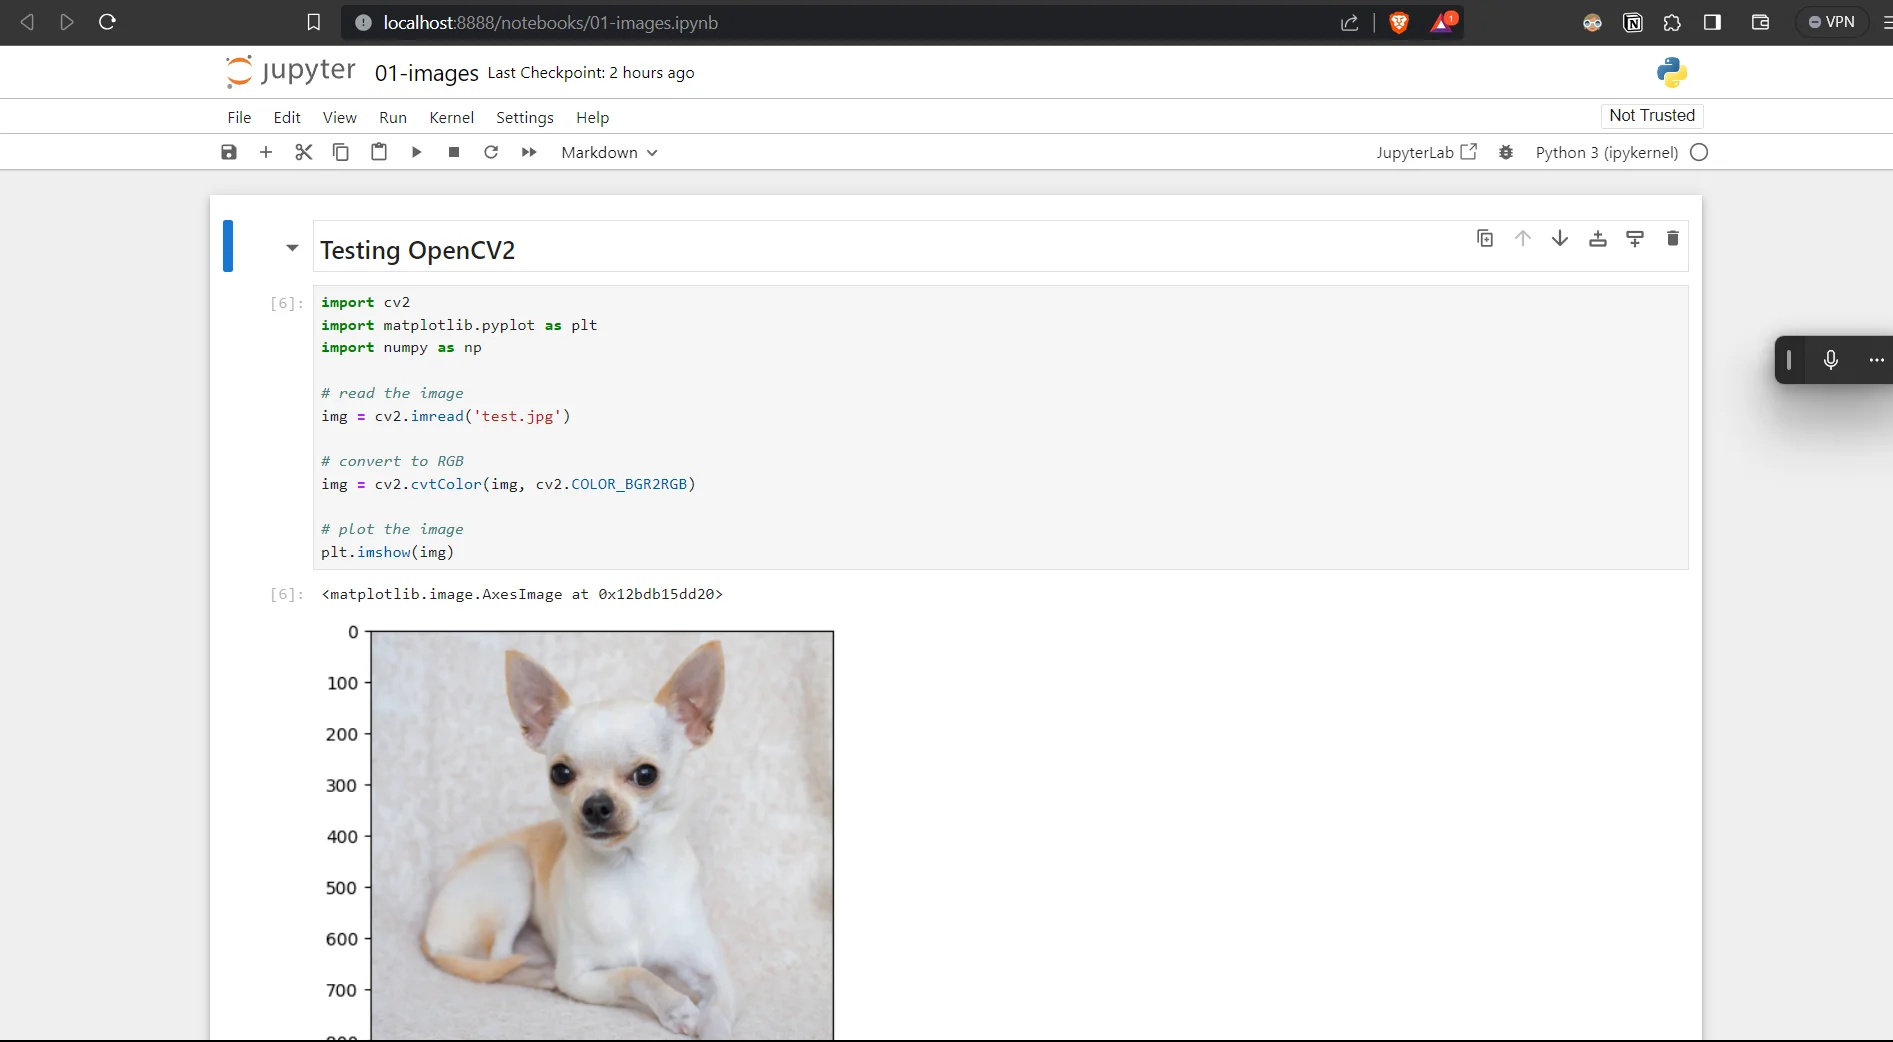
Conclusion
That’s it! You now have a fully functional Python environment with Jupyter Notebooks in VS Code on Windows.
I have written this guide for Master’s college students who are new to Python and Jupyter Notebooks. I hope you find it useful!