On February 17, Figma and Anthropic shipped “Code to Canvas” — a plugin that lets you move work between Claude Code and Figma in both directions. I tested it the same night. Here’s what the workflow actually looks like.
The promise
Thariq from Anthropic posted a video showing Claude Code pushing screens directly to Figma. Edit code, call generate_figma_design, and your UI appears as editable Figma frames. Then use the Figma MCP server to go back to code. A full loop.
The blog post from Figma’s design director describes it well: code is powerful for converging, the canvas is powerful for diverging. Going from code to canvas lets you “move fluidly, so work can narrow when it needs to and open up when it’s time to collaborate.”
I wanted to see if it actually works.
Setup
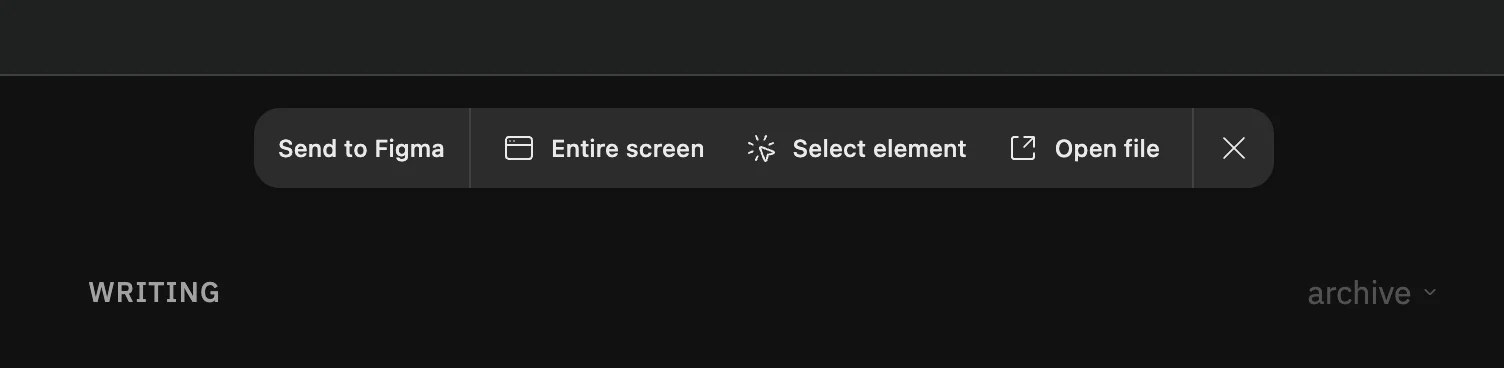
Install the plugin:
claude plugin install figma@claude-plugins-officialTwo MCP servers get registered: figma (remote API) and figma-desktop (local, needs Figma Desktop running). The remote one is enough for URL-based workflows. You’ll authenticate via OAuth on first use.
Figma to Code
I started with a cookie consent component designed in Figma. To implement it, I ran /implement-design with the Figma URL.
Claude Code called two tools in parallel:
get_design_context— returns structured React + Tailwind code representing the layout, typography, colors, and assetsget_screenshot— captures a visual reference of the frame
From there, I translated the output to my stack (Astro + Tailwind v4 + IBM Plex Mono) and created the component. The key is that get_design_context gives you real layout data — not a screenshot, not a rough approximation. Exact hex colors, font sizes, letter spacing, padding values.
Code to Figma
This is where it gets interesting. I wanted to push my running page back to Figma as editable layers.
generate_figma_design handles this, but it’s not purely automatic. The tool needs a capture script loaded in your page. The script serializes your DOM — not as a screenshot, but as actual layers with text, colors, and layout that Figma can interpret.
I added the script to my Astro Layout, gated behind dev mode so it never ships to production:
{import.meta.env.DEV && (
  <script is:inline
    src="https://mcp.figma.com/mcp/html-to-design/capture.js"
    async
  />
)}
With that in place, Claude Code generates a captureId, opens your page with a special URL fragment, and the script captures the DOM and sends it to Figma.
The result: your page appears in Figma as real, editable frames. Not a flat image. You can select individual text layers, change colors, move elements around.
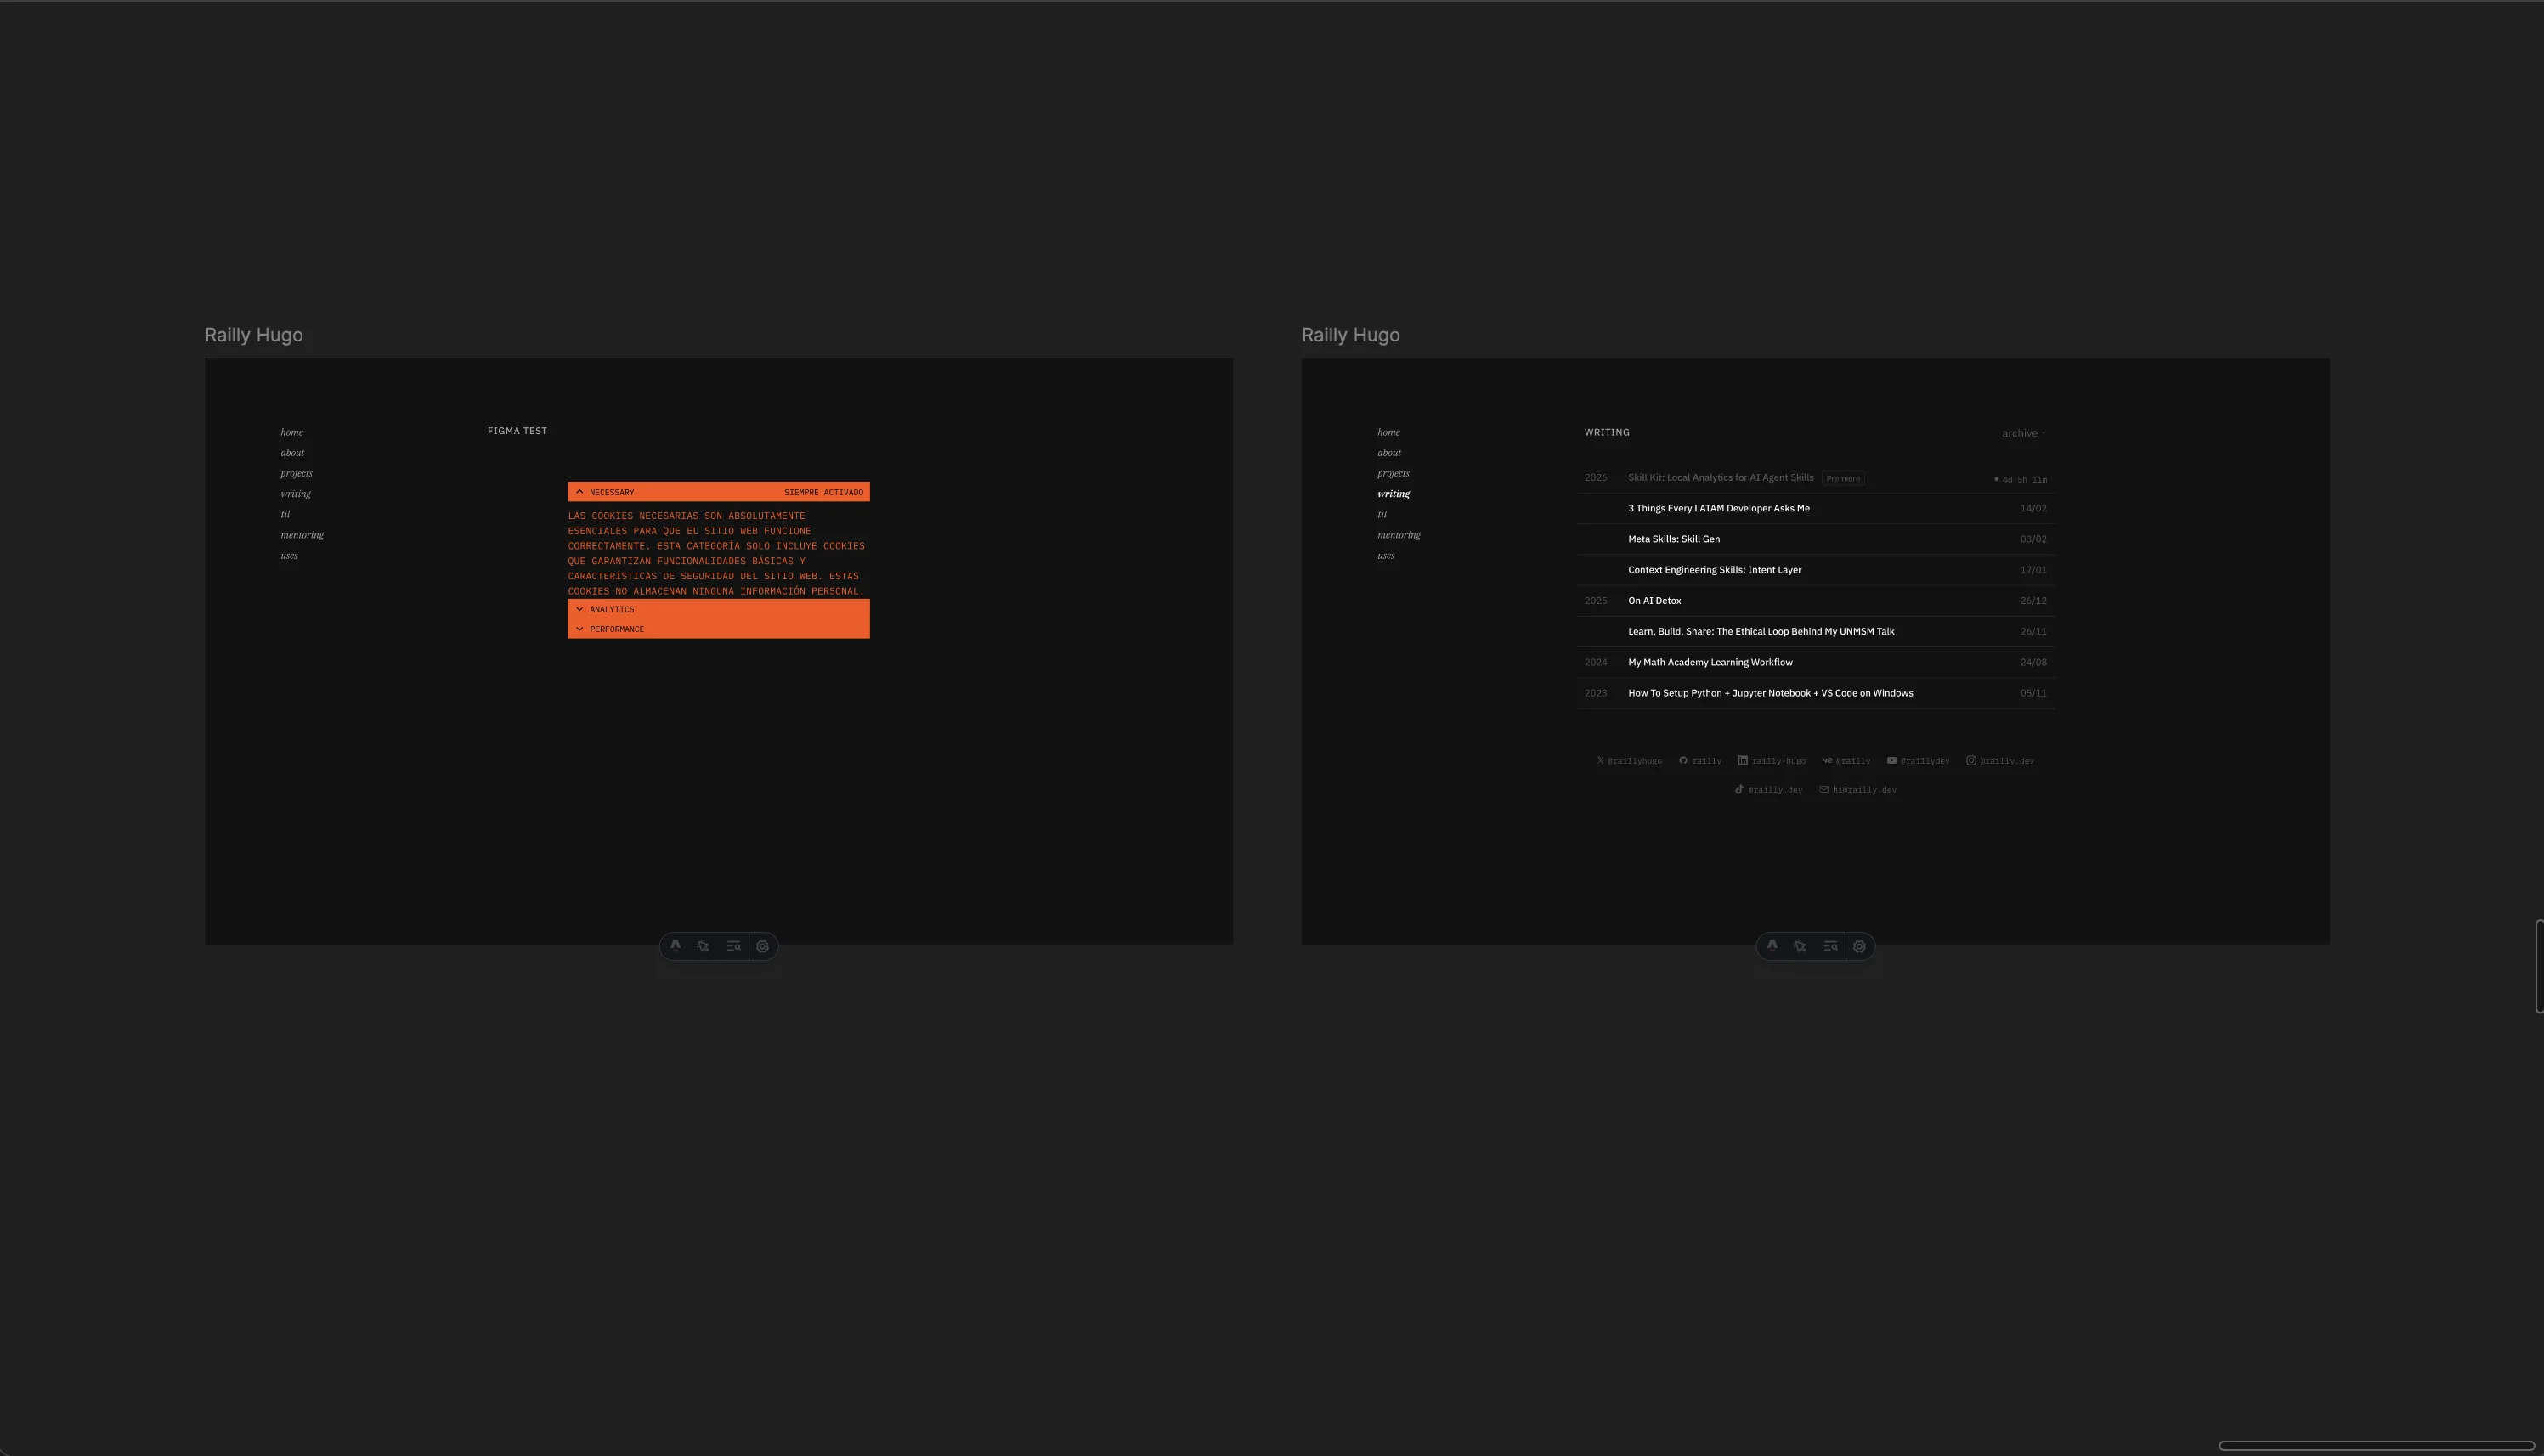
The full loop
Here’s where I tested the round-trip. After pushing the cookie component to Figma, I edited the accent color directly in Figma — changed #FE5107 (orange) to #21FFBC (neon green).
Then I asked Claude Code to read the same Figma frame again. It detected the color change immediately and updated the component.
1. /implement-design {figma-url}     → Astro component (orange)
2. generate_figma_design             → Editable Figma layers
3. Edit color in Figma               → #FE5107 → #21FFBC
4. get_design_context {same-url}     → Detected change, updated component
That’s the bidirectional loop working end to end. A designer could iterate on the Figma side, and a developer can pull those changes back into code without re-implementing anything.
What you should know
The capture needs a browser render. Unlike what the marketing suggests, generate_figma_design doesn’t convert code to Figma directly. It needs your dev server running and a browser to render the page. The capture script serializes the rendered DOM.
Dev-only script is the way to go. Add the capture script to your layout behind a dev mode flag. It’ll be available whenever you’re developing locally, stripped from production builds.
Three output modes. You can push to a new Figma file, add to an existing file, or copy to clipboard. Each capture ID is single-use — one page per ID.
Real layers, not screenshots. The captured result in Figma is fully editable. Text is text, colors are colors, layout is layout. You can iterate on it like any Figma frame.
The tools
| Tool | Direction | What it does |
|---|---|---|
get_design_context | Figma → Code | Structured code from any frame |
get_screenshot | Figma → Code | Visual reference |
get_variable_defs | Figma → Code | Design tokens |
generate_figma_design | Code → Figma | Push page as editable layers |
Plus three slash commands: /implement-design, /create-design-system-rules, and /code-connect-components.
Why this matters
The Figma-to-code direction was already useful with the MCP server. But code-to-Figma closes the loop. You can prototype fast in code, push to Figma for design review, get feedback as direct edits to the frame, and pull those changes back. No more screenshots in Slack. No more “can you make this change and send me a new build.”
For solo developers doing design engineering, this means you can work in code (where you’re fastest) and still get the spatial benefits of the canvas when you need to see the full picture.